
Modern vehicles rely heavily on their electrical systems, and when your battery fails unexpectedly, a reliable jump starter can be your lifeline. These portable devices have revolutionized roadside assistance, providing independence and peace of mind for drivers worldwide. However, using a jump starter safely requires proper knowledge and adherence to essential safety protocols. Understanding the correct procedures not only protects your vehicle's electrical system but also ensures your personal safety during emergency situations. Whether you're a seasoned driver or new to automotive maintenance, mastering jump starter safety is crucial for effective and secure battery recovery operations.
Understanding Jump Starter Fundamentals
Types and Technology Overview
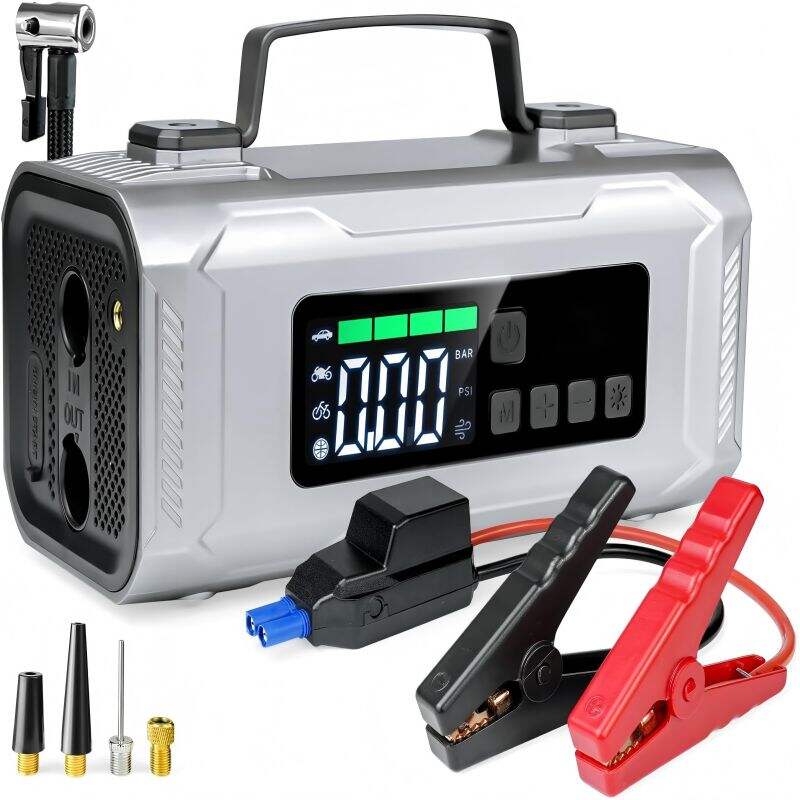
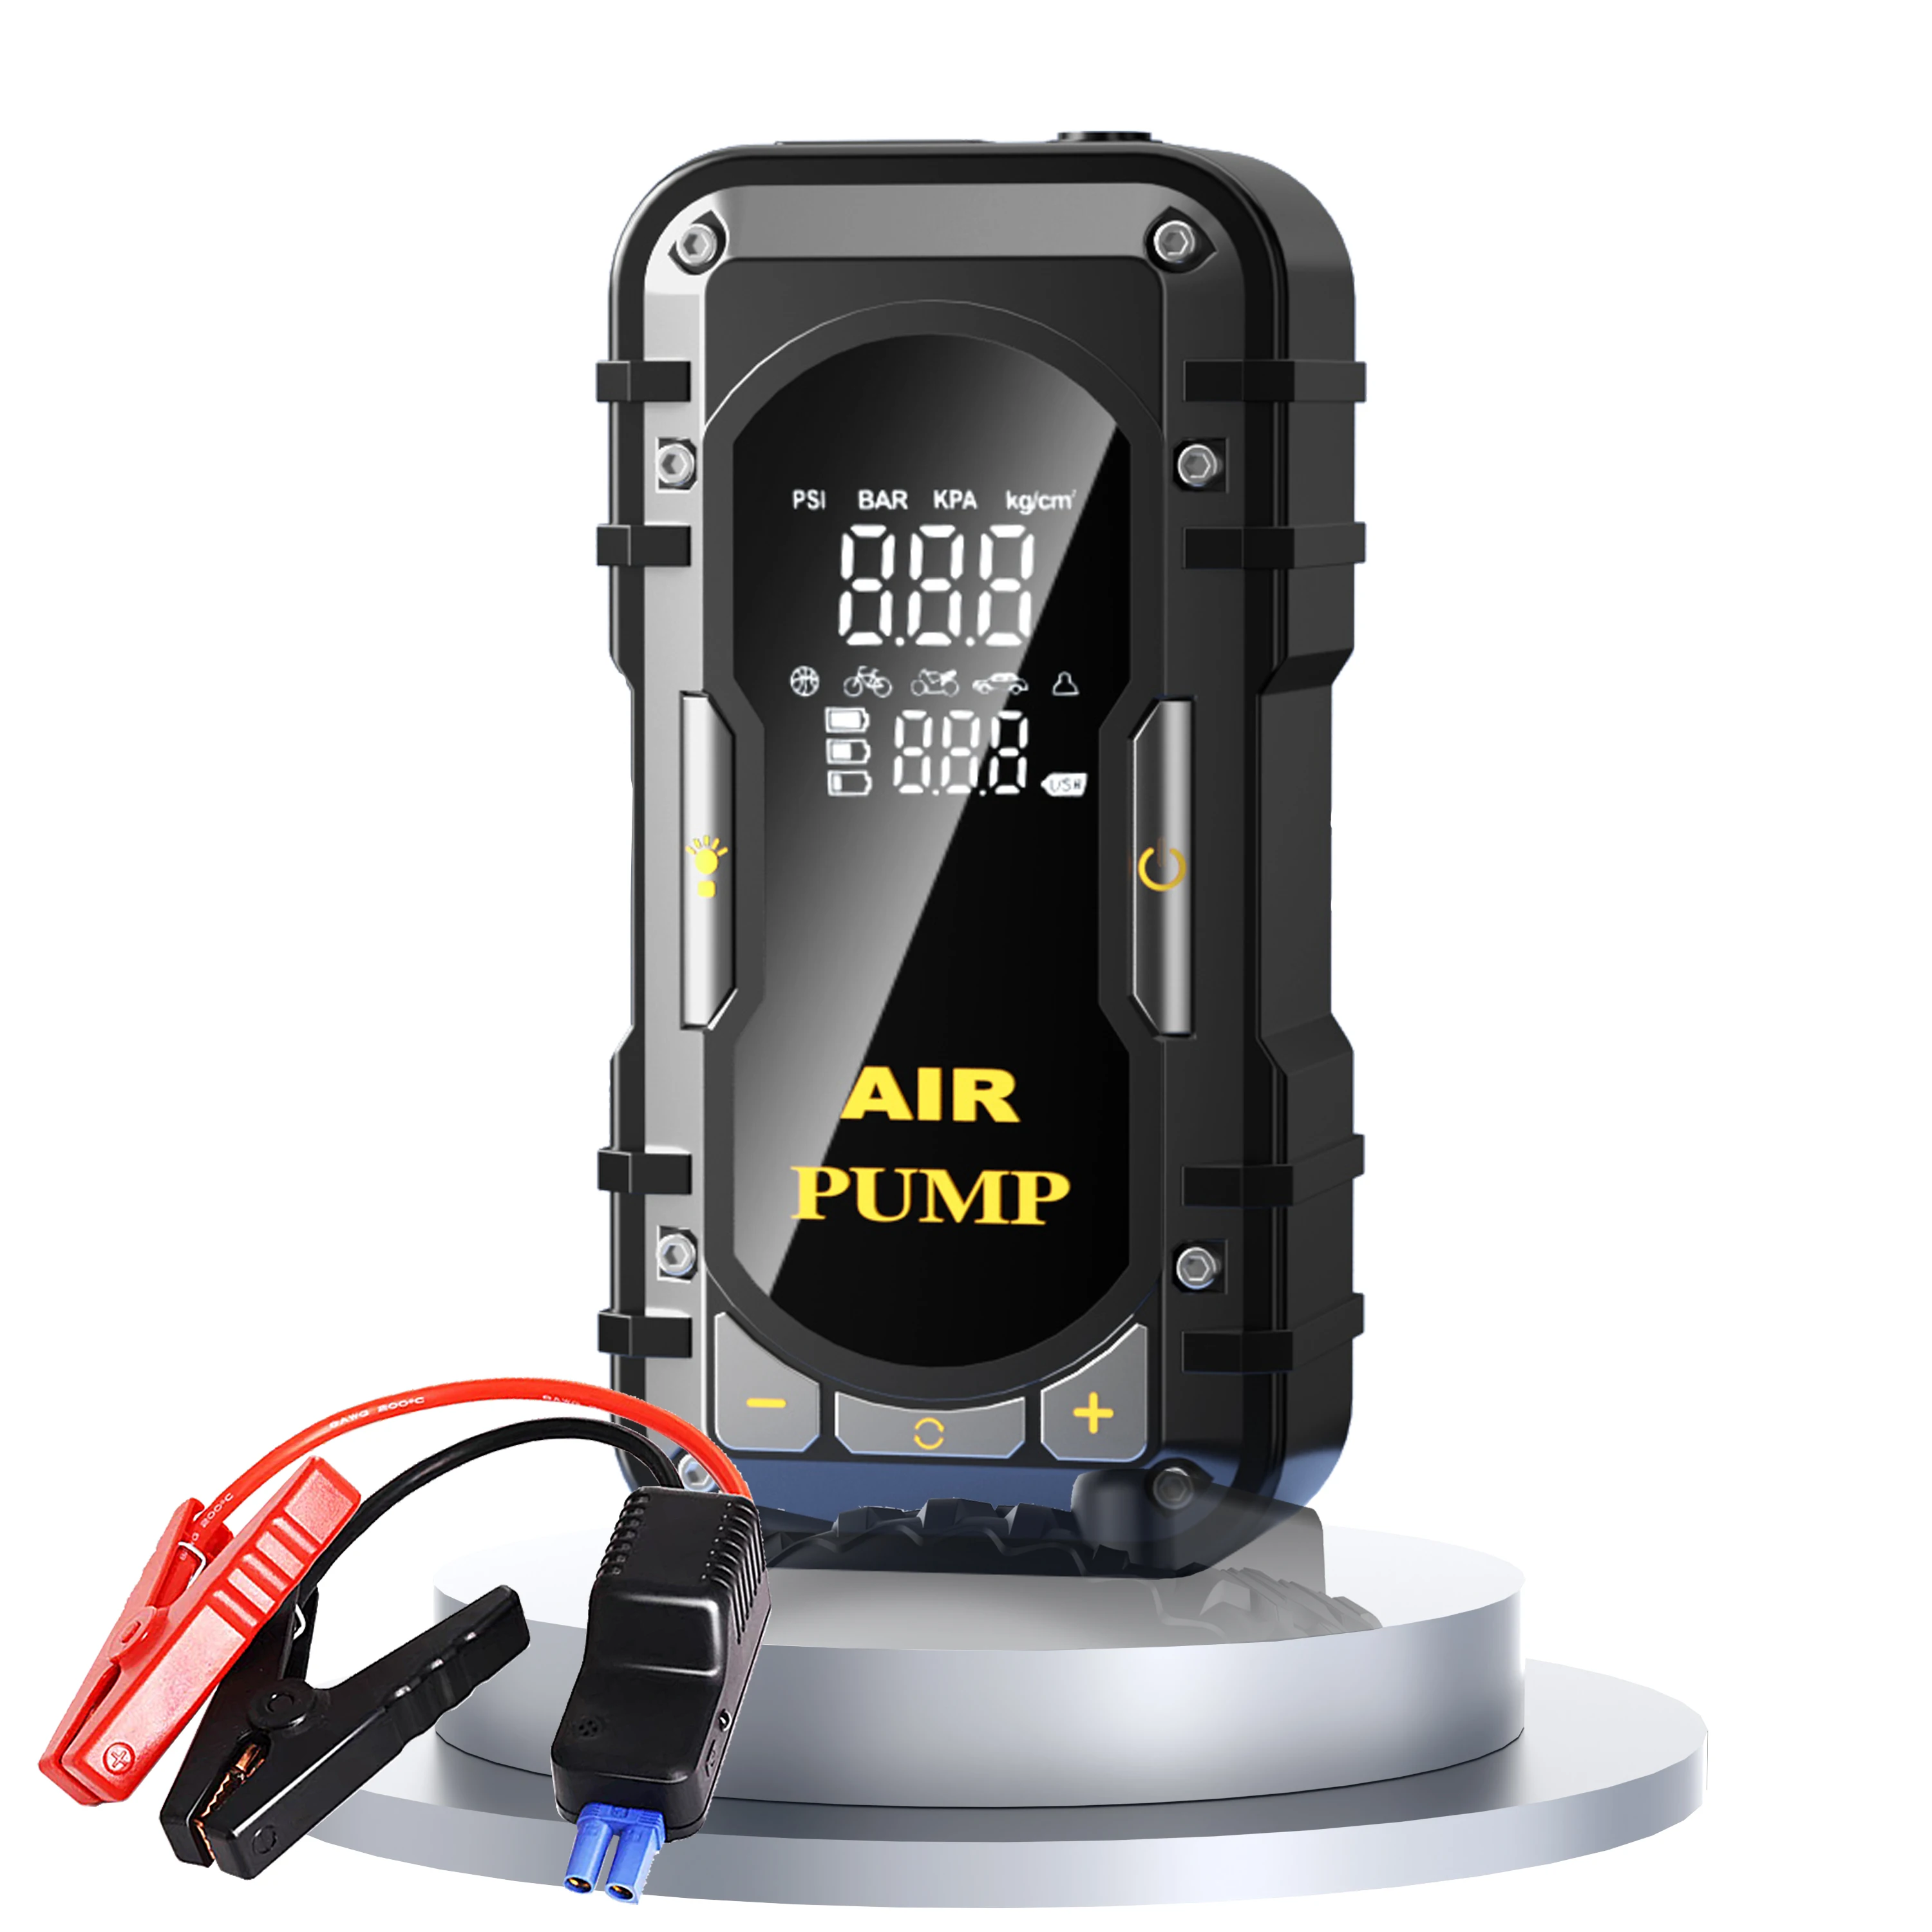
Jump starters come in various configurations, each designed for specific applications and power requirements. Traditional lead-acid models offer robust power output suitable for larger engines and commercial vehicles. Lithium-ion variants provide compact portability while delivering substantial cranking amperage for most passenger vehicles. Advanced models integrate multiple functions including air compressors, LED lighting, and USB charging ports, transforming a simple battery booster into a comprehensive emergency toolkit. Understanding your jump starter's capabilities and limitations is fundamental to safe operation.
Peak amperage ratings indicate maximum power delivery, while cranking amps represent sustained output during engine starting. Temperature considerations affect performance significantly, as extreme cold reduces battery efficiency in both your vehicle and the jump starter unit. Modern devices incorporate intelligent safety features like reverse polarity protection, over-current safeguards, and spark-proof connections. These technological advances enhance user safety but don't eliminate the need for proper handling procedures and safety awareness during operation.
Safety Features and Protection Systems
Contemporary jump starters incorporate multiple layers of protection to prevent accidents and equipment damage. Reverse polarity protection automatically shuts down the unit if cables are connected incorrectly, preventing potentially dangerous electrical feedback. Over-voltage protection guards against power surges that could damage sensitive electronic components in modern vehicles. Short-circuit protection immediately cuts power when detecting abnormal current flow, preventing cable overheating and potential fire hazards.
Spark-proof technology ensures safe connections by activating power only after proper cable attachment is confirmed. Temperature monitoring prevents overheating during extended use or in extreme environmental conditions. LED indicators provide clear status information, alerting users to connection errors, low battery levels, or system malfunctions. These integrated safety systems work together to create multiple fail-safes, but understanding their function helps users recognize when manual intervention or professional assistance may be necessary.
Pre-Use Safety Preparations
Equipment Inspection and Maintenance
Regular inspection of your jump starter ensures optimal performance when emergencies arise. Check cable connections for corrosion, fraying, or loose fittings that could compromise electrical conductivity or create safety hazards. Examine clamp teeth for proper alignment and spring tension, ensuring secure battery terminal connections. Verify that all protective covers and safety features function correctly, including reverse polarity indicators and power switches.
Battery maintenance varies by jump starter type but typically involves periodic charging and storage considerations. Lithium-ion units require charging every three to six months when unused, while lead-acid models need more frequent attention. Store units in temperature-controlled environments to preserve battery life and ensure reliable performance. Clean exterior surfaces regularly to prevent debris accumulation that might interfere with ventilation or control access during emergency use.
Environmental Assessment and Safety Setup
Proper positioning and environmental awareness significantly impact jump starting safety. Park vehicles on level, stable ground away from traffic whenever possible, engaging parking brakes and hazard lights for visibility. Ensure adequate ventilation around both vehicles, as battery gases can accumulate in enclosed spaces. Remove jewelry and loose clothing that might contact electrical components or moving parts during the procedure.
Weather conditions affect safety protocols, with rain, snow, or extreme temperatures requiring additional precautions. Moisture increases electrical hazard risks, so ensure all connections remain dry throughout the process. Cold weather reduces battery efficiency, potentially requiring longer charging times or multiple attempts. Hot weather can accelerate chemical reactions in batteries, increasing gas emission risks and requiring enhanced ventilation considerations during jump starting operations.
Proper Connection Procedures
Step-by-Step Connection Protocol
Correct cable connection sequence is critical for safe jump starting operations. Begin by identifying positive and negative terminals on both the dead battery and the jump starter. Clean terminal surfaces if necessary to ensure solid electrical contact. Connect the red positive cable to the dead battery's positive terminal first, followed by connecting the other red cable end to the jump starter's positive output.
Attach the black negative cable to the jump starter's negative terminal, then connect the other end to an unpainted metal ground point in the engine compartment, away from the battery. This grounding technique reduces spark risks near battery gases. Ensure all connections are secure and cables don't contact moving parts like fans or belts. Double-check polarity before activating the jump starter to prevent equipment damage or safety hazards.
Common Connection Mistakes and Prevention
Reverse polarity connections represent the most dangerous mistake in jump starting procedures. Always verify terminal markings and cable colors before making connections, as incorrect polarity can damage electrical systems or create fire hazards. Loose connections reduce power transfer efficiency and can create dangerous arcing or overheating. Ensure clamps make full contact with clean terminal surfaces and tighten securely without over-torquing.
Cable routing requires careful attention to prevent interference with moving parts or hot engine components. Keep cables clear of fans, belts, and exhaust manifolds that could damage insulation or create safety hazards. Avoid stretching cables beyond their designed length, which can stress connections and reduce conductivity. Plan your connection route before beginning to ensure adequate cable length and proper positioning throughout the jump starting process.
During Operation Safety Measures
Monitoring and Control Procedures
Active monitoring during jump starting operations helps identify potential problems before they become dangerous. Watch for excessive heat generation in cables or connections, which indicates high resistance or poor contact. Listen for unusual sounds like crackling, hissing, or popping that might signal electrical arcing or battery gas emissions. Observe LED indicators on the jump starter for error codes or warning signals throughout the process.
Timing considerations prevent equipment overload and ensure successful starting attempts. Most jump starters require brief charging periods before attempting engine ignition, typically thirty seconds to two minutes depending on battery condition. Limit cranking attempts to prevent starter motor overheating, allowing rest periods between tries. Monitor jump starter battery levels to ensure sufficient power for multiple attempts if necessary.
Emergency Procedures and Troubleshooting
Recognize signs that require immediate procedure termination, including visible sparking, smoke emission, or unusual odors from batteries or connections. If any safety concerns arise, disconnect all cables immediately and assess the situation before proceeding. Battery swelling, leaking, or excessive heat generation indicates potentially dangerous conditions requiring professional assistance rather than continued jump starting attempts.
Equipment malfunctions during operation require systematic troubleshooting while maintaining safety priorities. Check all connections for security and proper polarity if the jump starter fails to activate. Verify sufficient charge in the jump starter battery and allow cooling periods if overheating protection has engaged. When troubleshooting fails to resolve issues, discontinue attempts and seek professional automotive assistance to prevent safety risks or equipment damage.
Post-Use Safety and Maintenance
Proper Disconnection Sequence
Correct disconnection procedures are equally important as proper connection protocols for maintaining safety. Once the engine starts successfully, allow it to run for several minutes to stabilize electrical systems before disconnecting cables. Remove connections in reverse order of installation, starting with the negative ground cable, followed by the negative jump starter connection, then both positive cables.
Handle cables carefully during disconnection to prevent accidental contact between clamps, which could create dangerous sparking. Store cables properly to prevent damage and ensure they remain ready for future use. Clean clamp surfaces if corrosion or debris accumulated during use, maintaining optimal conductivity for subsequent applications. Allow the jump starter to cool completely before storage, especially after extended use or in hot weather conditions.
Storage and Long-Term Care
Proper storage significantly extends jump starter lifespan and ensures reliable performance during emergencies. Store units in temperature-controlled environments, avoiding extreme heat or cold that can damage internal components. Maintain appropriate charge levels according to manufacturer specifications, typically keeping lithium units at 50-70% charge for optimal longevity. Lead-acid models require periodic full charging cycles to prevent sulfation and maintain capacity.
Regular maintenance schedules help identify potential issues before they compromise safety or performance. Inspect cables and connections monthly for wear, corrosion, or damage. Test jump starter function periodically to verify proper operation and charge retention. Update firmware if applicable, as manufacturers sometimes release safety improvements or performance enhancements through software updates. Document maintenance activities to track equipment condition and identify replacement needs.
FAQ
How often should I charge my jump starter to maintain safety and performance
Most lithium-ion jump starters should be charged every three to six months when not in regular use, while lead-acid models typically require monthly charging. Check manufacturer specifications for your specific model, as requirements vary. Store the device at partial charge (around 60%) rather than fully charged or completely depleted to maximize battery lifespan. Regular charging prevents deep discharge damage and ensures your jump starter is ready when needed.
What safety equipment should I keep with my jump starter
Essential safety equipment includes insulated gloves to protect against electrical shock, safety glasses to shield eyes from potential sparks or battery acid, and a flashlight for visibility in dark conditions. Keep a basic first aid kit nearby in case of accidents. Wire brushes or terminal cleaners help ensure proper connections, while a fire extinguisher rated for electrical fires provides additional safety insurance during emergency situations.
Can I use my jump starter on different types of vehicles safely
Jump starters can typically be used on various vehicles within their amperage rating, but always verify compatibility before attempting to start different engine types. Diesel engines usually require higher cranking amperage than gasoline engines of similar size. Motorcycles and small equipment need less power but may use different voltage systems. Check your jump starter's specifications against the target vehicle's requirements to ensure safe and effective operation.
What should I do if my jump starter gets hot during use
If your jump starter becomes excessively hot during operation, discontinue use immediately and allow it to cool completely before proceeding. Overheating typically indicates overload conditions, poor connections, or internal component stress. Check all cable connections for security and proper contact, ensure adequate ventilation around the unit, and verify that you're not exceeding the device's rated capacity. If overheating persists, have the unit professionally inspected before further use.